Showing posts with label Pinterest. Show all posts
Friday, August 3, 2012
SLIME fun!!
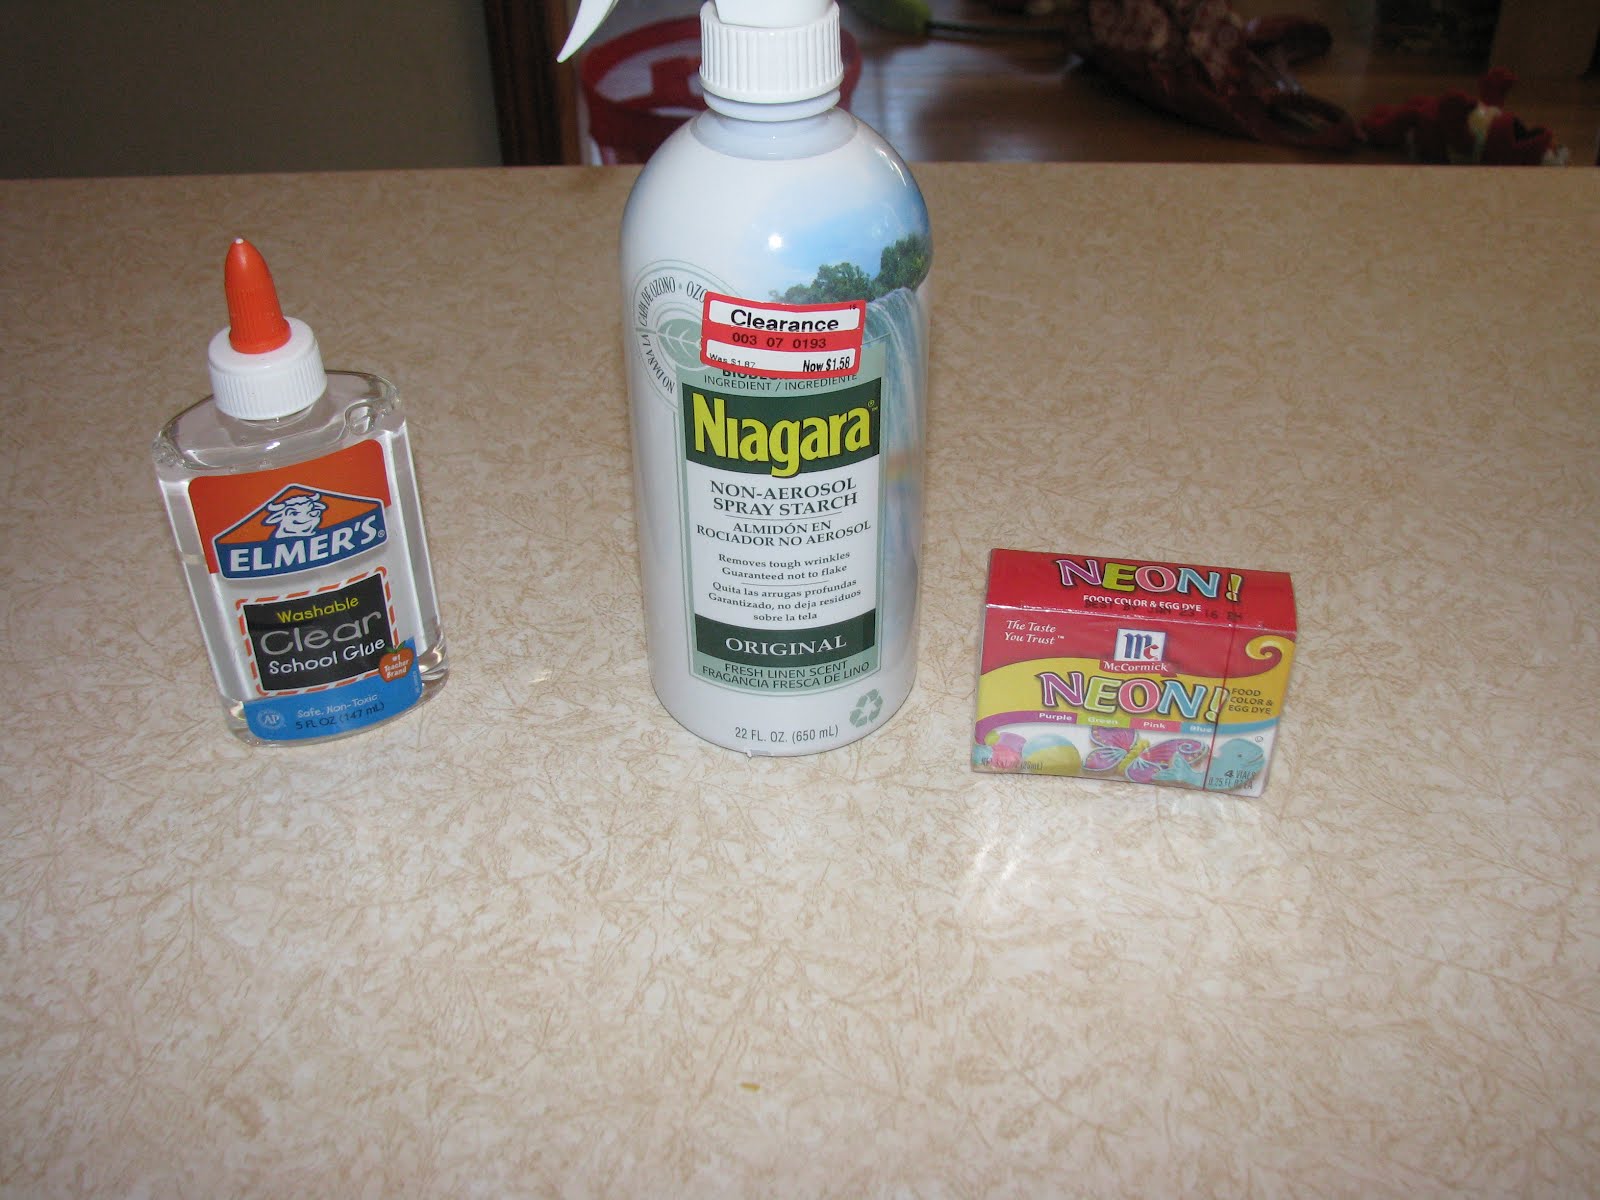
Owen and I made THIS slime after his doctor's appointment Monday. It was a big, fun, messy hit! I was unable to find the liquid starch that is called for in the original post, but I did find a non-aersol spray starch at Target on clearance for $1.60. It sounded like liquid in the bottle, so I figured I would try it :-) I have nothing to compare it to, but my slime turned out, so I think it worked just fine. The original post also calls for 1.5 cups each of the clear glue & the liquid starch. I just used 5 oz (1 bottle of glue) of each & we had plenty to play with. You do have to get in there & really work it & mix it up with your hands to create the slime. Definitely a grown-up step, because the food coloring will end up all over your hands. I didn't like the smell of the starch, but it seemed to lessen the more I worked with it.
As you can see, Owen loved the slime & played with it for over an hour! A winner for me :-)
More Pinterest Recipes
Since I had success with the last few Pinterest recipes I made, I decided to try a few more.
I made THIS cucumber, tomato, dill salad inspired by Martha. It was delicious. The best review came from Owen, who said he LOVED it & would eat it every day! Sounds like a winner to me.
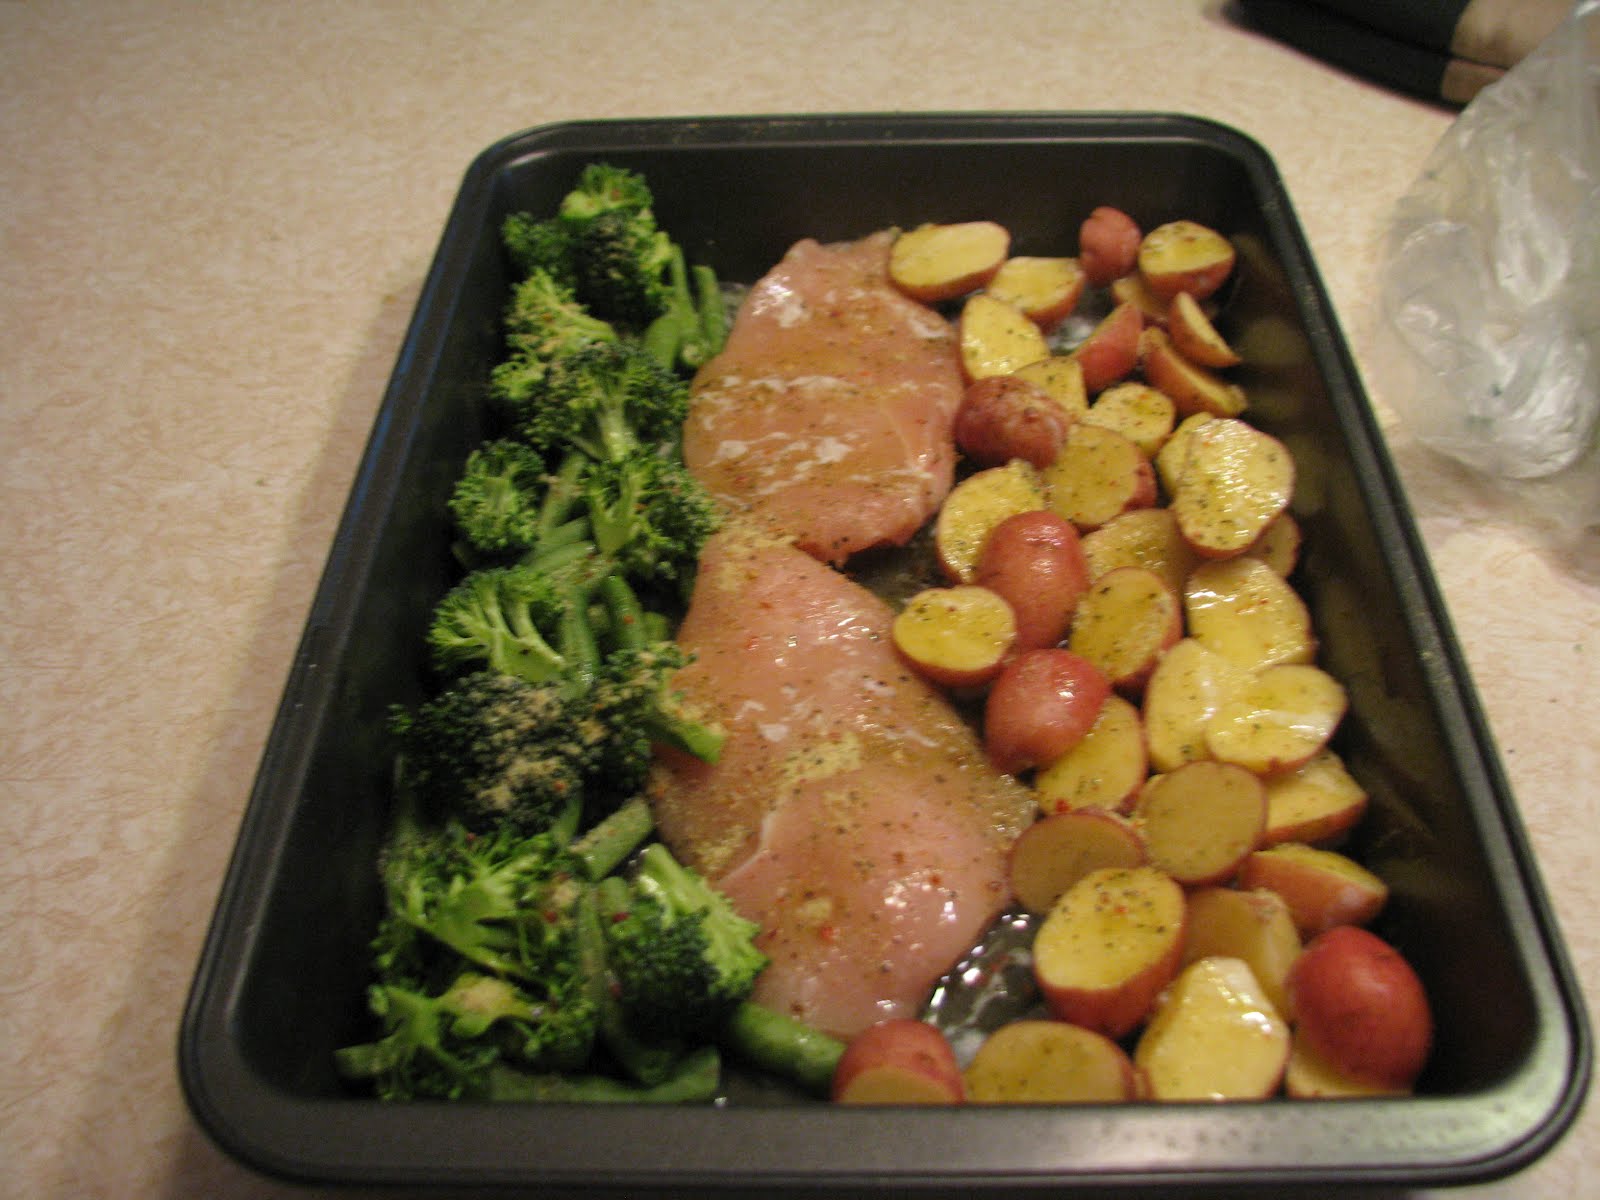
I made THIS chicken, potato & veggie dish for dinner. The original pin suggested green beans (fresh or frozen) but said any green veggie would do. I decided to try it with fresh green beans and fresh broccoli.
It was SO easy & very yummy! DH has already requested it again. Another winner :-)
I made THIS cucumber, tomato, dill salad inspired by Martha. It was delicious. The best review came from Owen, who said he LOVED it & would eat it every day! Sounds like a winner to me.
I made THIS chicken, potato & veggie dish for dinner. The original pin suggested green beans (fresh or frozen) but said any green veggie would do. I decided to try it with fresh green beans and fresh broccoli.
It was SO easy & very yummy! DH has already requested it again. Another winner :-)
Pinterest Day in the Kitchen
I decided to have a Pinterest day in the kitchen & try out some of the recipes I have been pinning.
First I made THIS strawberry greek yogurt bread. It was a little heavier than I would prefer, but still yummy. I would make it again.
Next, I made some corn on the cob using THIS easy method. It was so easy & turned out perfect!
Since the oven was already on, I tried THESE potatoes. They were delicious & we will definitely be adding them to our rotation!
Of course we needed some dessert, so I tried THESE s'more crossiants. I was a little bit disappointed that the marshmallows didn't melt better & have more of a taste presence. But, everyone seemed to enjoy them so I'm sure we will have them again.
th
First I made THIS strawberry greek yogurt bread. It was a little heavier than I would prefer, but still yummy. I would make it again.
Next, I made some corn on the cob using THIS easy method. It was so easy & turned out perfect!
Since the oven was already on, I tried THESE potatoes. They were delicious & we will definitely be adding them to our rotation!
Of course we needed some dessert, so I tried THESE s'more crossiants. I was a little bit disappointed that the marshmallows didn't melt better & have more of a taste presence. But, everyone seemed to enjoy them so I'm sure we will have them again.
th
Thursday, July 5, 2012
Chore Chart
Another craft inspired by Pinterest!
We recently started allowing Owen to earn a little money (literally: penny, nickel, dime or quarter) for certain jobs. Of course, most things are just expected as a member of our family, but for those things that really help us out, DH decided to reward him. I thought it was the perfect chance to combine several ideas I had pinned.
I took the inspiration for the magnets from HERE and the inspiration for the magnet board from HERE
-I took a cookie sheet from the dollar store, punched holes in the top for the ribbon (w/ nail & hammer) and then wrapped & mod podged fabric around it.
-I die-cut the letters out of scrapbook paper & then mod-podged them on cardstock. I mod-podged the "to do" and "done" headings onto the board.
-I mod-podged a small piece of ribbon to divide the "to do" and "done" sections
-The orginal magnetic strip did not stay on very well, so I had to change to stronger magnets.
-These new, stronger magnets had to be hot-glued onto the marble stones. So, they started to get a little heavy.
-To prevent my board from falling down under the weight of the heavier magnets (there are 10 altogether) I keep several of the extra chores on the dishwasher
-I put the ribbon through the top, tied it & hung it on a cute knob in the corner of the kitchen.
We recently started allowing Owen to earn a little money (literally: penny, nickel, dime or quarter) for certain jobs. Of course, most things are just expected as a member of our family, but for those things that really help us out, DH decided to reward him. I thought it was the perfect chance to combine several ideas I had pinned.
I took the inspiration for the magnets from HERE and the inspiration for the magnet board from HERE
-I took a cookie sheet from the dollar store, punched holes in the top for the ribbon (w/ nail & hammer) and then wrapped & mod podged fabric around it.
-I die-cut the letters out of scrapbook paper & then mod-podged them on cardstock. I mod-podged the "to do" and "done" headings onto the board.
-I mod-podged a small piece of ribbon to divide the "to do" and "done" sections
-The orginal magnetic strip did not stay on very well, so I had to change to stronger magnets.
-These new, stronger magnets had to be hot-glued onto the marble stones. So, they started to get a little heavy.
-To prevent my board from falling down under the weight of the heavier magnets (there are 10 altogether) I keep several of the extra chores on the dishwasher
-I put the ribbon through the top, tied it & hung it on a cute knob in the corner of the kitchen.
Thursday, June 28, 2012
Birthday Balloon Wreath
I thought this wreath was so fun that I couldn't wait to make it! My birthday & Owen's birthday are only 3 days apart (& my mom's is the week before) so it seemed like the perfect time to make it.
I really should have paid attention to how many balloons were used, because I kept running out and had to buy more. I used multi-colored packages of balloons & used at least 200, if not closer to 250. I also found the cute "Happy Birthday" sticker at Hobby Lobby, stuck it on card stock, cut with scrapbooking scissors & pinned it on. I can't wait to re-use this wreath!
http://creativehomemakers.blogspot.com/2010/06/angs-birthday-wreath-ii.html
Friday, June 22, 2012
A Craftable and A Laughable
Since it has been such a hot & humid week & we have been staying inside in our little cave, Owen & I decided to make our Friday night movie night extra fun. I had seen these cars on Pinterest & thought they were the perfect project for a hot summer day. We already had a box out that Owen had been playing with & it was the perfect size. I got out some black paper plates, markers, glue stick & scissors & he set off to work. Much to my delight, it occupied him for an hour. To his delight, he had the perfect car for our drive-in movie night. We added a glow-in-the-dark movie sign & some glow sticks & served dinner in hamburger baskets & fun palm tree cups.
I thought we should continue our glow-in-the-dark day with these amazing cupcakes (also seen on Pinterest) for dessert. Clearly, that was an idea that was a disaster from the start! First, the tonic water exploded all over the kitchen (apparently it was my day for everything to explode everywhere). Second, it didn't seem to matter what I added, how much I added, how much I mixed, I couldn't get the frosting to resamble frosting. It looked more like paste than anything edible! I had promised Owen glow-in-the-dark cupcakes, what was I going to do? In desperation, I grabbed a can of Pillsbury frosting from the pantry & added the food coloring & tonic water to that. After frosting the cupcakes with my makeshift frosting, I followed the next step & put them in the freezer. I don't know if it was the heat, the humidity, my freezer or the frosting, but they just wouldn't firm-up enough for me to be able to dip them. After an hour and a half, I gave up. We enjoyed cupcakes with neon green frosting & had a good laugh!
A glowing day
It has been a very hot & humid week here, so we have been hanging out inside with all the curtains drawn & the AC on. Since we were living in our own little cave, we decided to try out our Crayola Glow Explosion markers. I had picked them-up on clearance at Target months ago for $2 and change. Not sure I would have paid full price for it, but for $2 it was definitely worth it & fun! Owen enjoyed drawing & practicing his writing with the markers, then going over with the large "glowey" marker to make them glow-in-the dark.
Next, we decided to try this fun glow stick project I had seen on Pinterest. First, the directions should mention that you need to bend/break the glow stick first to activiate it :-) Second, be careful of exploding glow sticks. When attempting to crack the second stick (since I hadn't the first time) it actually exploded all over me, the table, the wall, the rug. This has never happened to me before & I was shocked that exploded when cracking, not even cutting open. So, the 3rd glow-stick was the charm & we got our fairies in a jar to work. Owen loved it & thought it was like a little lantern! It's a little difficult to see, but here is some of our glowing results.
Subscribe to:
Posts (Atom)